
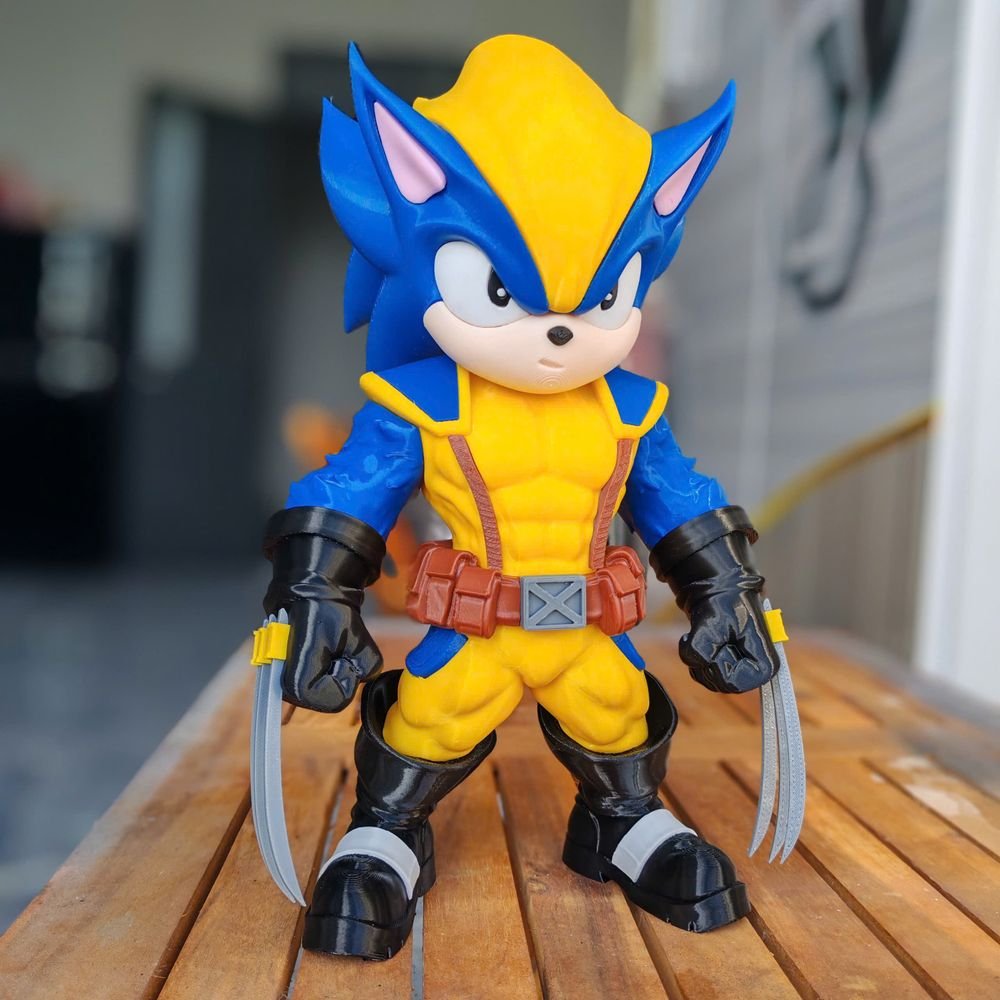
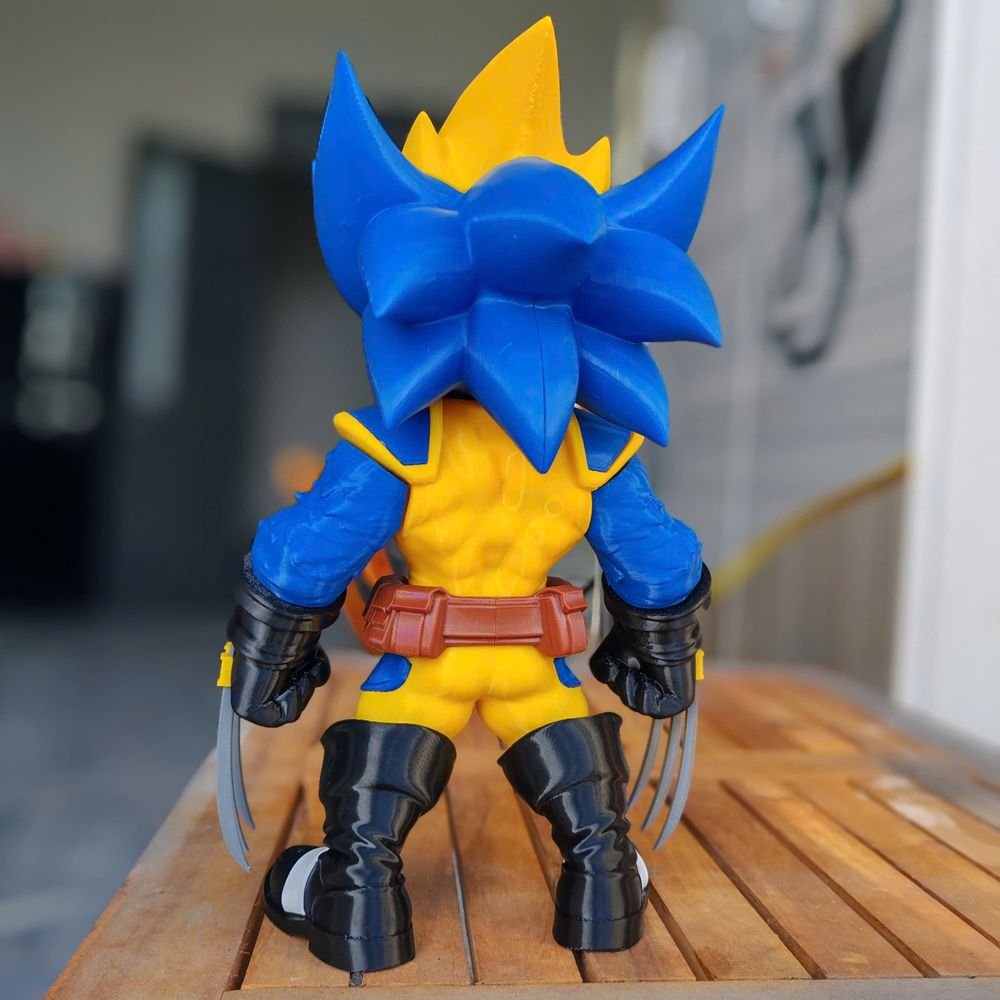
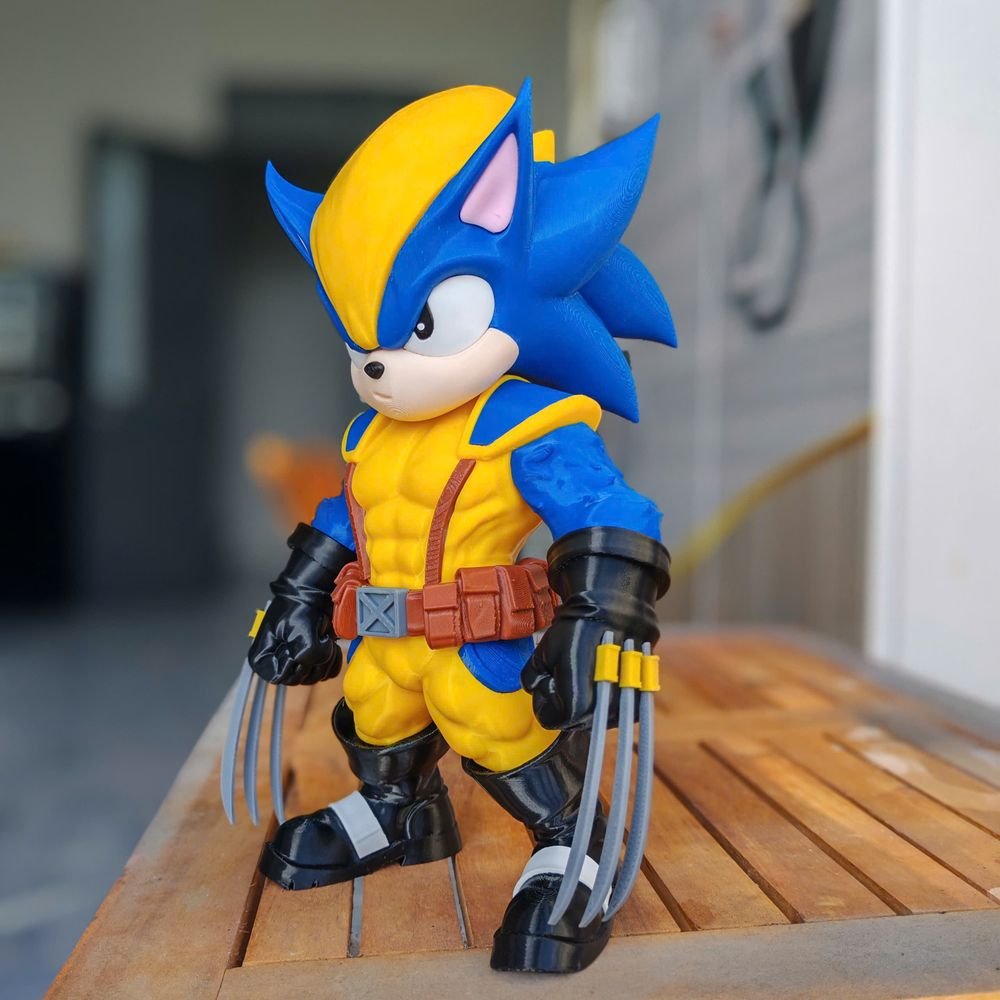
PETG 3D Printing Guide: How We Built a Durable Sonic x Wolverine Masterpiece
When it comes to PETG 3D printing, many makers wonder if this material can truly handle the intricate details of character models. Usually, PLA is the go-to for figurines, but what happens when you combine the lightning speed of Sonic the Hedgehog with the raw toughness of Wolverine? You get a model that needs more than just “standard” plastic—it needs the engineering strength of PETG.
In our latest lab project at Jahora3D, we pushed our premium filament to the limit. This “Wolverine-Sonic” mashup wasn’t just a fun creative experiment; it was a rigorous stress test for PETG 3D printing on thin, fragile geometries like claws and quills.
Why We Chose PETG Over PLA for This Build
During our internal testing, we compared our PETG against standard PLA. Here is why we made the switch for this specific high-detail model:
-
Impact Resistance for Fragile Parts: Unlike brittle PLA, our PETG has the “give” needed for thin parts. The claws on this model are sharp and thin; in PLA, they would snap with a light touch.
-
Real-World Durability: We wanted a model that could sit in a sunny window without warping. PETG 3D printing offers a much higher heat deflection temperature than PLA.
-
The Professional Finish: PETG provides a natural semi-gloss finish that makes armor and muscle definition pop without needing heavy painting.
Proven Settings for PETG 3D Printing (Our Lab Results)
If you’ve struggled with stringing or “blobs” in the past, these are the exact parameters we used on our Jahora3D printers to achieve a clean finish:
-
Nozzle Temperature: 230°C (Our “Sweet Spot”)
-
Bed Temperature: 70°C (Essential for adhesion)
-
Print Speed: 45mm/s (Slowing down helps detail retention)
-
Retraction: 6mm at 45mm/s (To eliminate the dreaded PETG stringing)
-
Cooling Fan: 50% (Constant airflow for overhangs)
Pro Tip: If you are using a PEI sheet, a light spray of hairspray or a glue stick acts as a “release agent” so the PETG doesn’t bond too permanently to your bed.
The 48-Hour Workflow: From STL to Display

Day 1: Scaling and Slicing
To ensure the best results, we split the model into three main sections: the Body, the Claws, and the Ears. We oriented the claws horizontally to ensure the layer lines ran the length of the claw, maximizing its strength. The main body was a 12-hour overnight print.
Day 2: The Fine Details & Assembly
After the main components were finished, we spent the morning on the smaller high-detail parts. PETG 3D printing requires a bit more care during support removal. We used flush cutters and 400-grit sandpaper to smooth out the contact points. Finally, we assembled the parts using standard CA glue (Super Glue), which bonds incredibly well with our filament.
Final Thoughts: Is PETG the Future for Detailed Models?
After completing this Wolverine-Sonic build, one thing became clear: PETG 3D printing is no longer just for functional parts. With the right tuning and workflow, it can absolutely compete with PLA in the world of detailed character models—while offering significantly better durability.
For makers who want their prints to last longer, resist heat, and survive real-world handling, PETG is quickly becoming the smarter choice. Of course, mastering it takes some experimentation, especially when dialing in retraction and cooling settings. If you’re new to this material and want a deeper understanding of its properties, you can learn more about Polyethylene terephthalate glycol here